Rusty pruning shears with boring blades definitely take away all the enjoyment of pruning your fruit bushes. It makes slicing tougher and time-consuming, and the nicked cuts should not good for the vegetation, as nicely. However this doesn’t imply it’s important to purchase a complete new pair of pruning shears. In any case, sharpening your device your self is less complicated and takes much less time than you suppose.
Right here, we present you find out how to sharpen pruning shears to maintain them in good form regardless of the workload. Delve in!

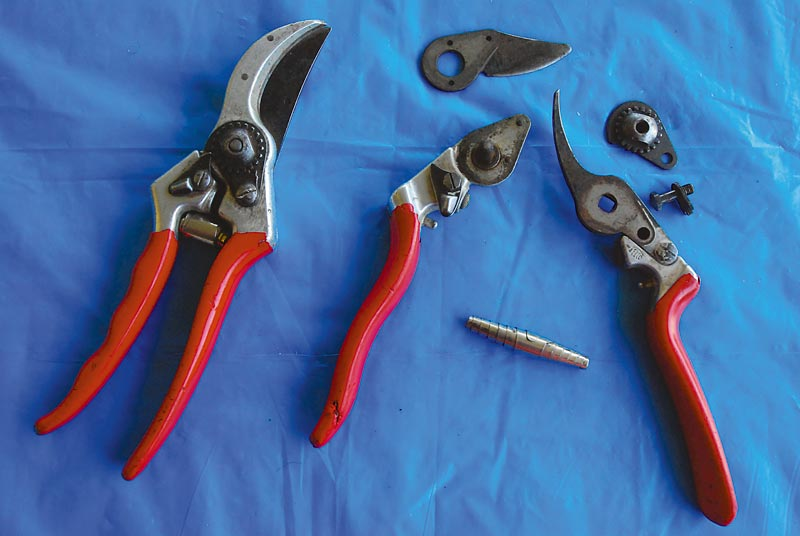
What You’ll Want
The right way to Sharpen Pruning Shears
Step 1: Disassemble the Components
Begin by detaching the components of the pruner whether it is simple to disassemble. Whereas a number of pruners could also be joined with a everlasting rivet, most fashions have a bolt or a screw and nut holding the 2 blades of the device collectively. The disassembling course of might fluctuate relying on the model.
Picture Supply: michigangardener.com
Take away the screw holding the 2 blades collectively to separate them. There could also be a number of screws on the pruner, however you need to concern your self with the one becoming a member of the 2 blades within the center. In case your pruner has a spring coil, it is going to fall as soon as the blades are separated.
Whereas disassembling the pruner will not be vital, it’s a lot simpler to wash and sharpen indifferent blades. It’s advisable to work on a plate or towel to maintain the indifferent items protected.
Step 2: Wash the Blades
Cleansing is an important step when studying find out how to sharpen backyard instruments, together with hand pruners.
Utilizing a scouring pad or stiff brush and heat soapy water, scrub off all of the grime from every blade. You possibly can then rinse the blades totally with water to fully take away the cleaning soap. It’s also possible to clear the handles and different components of the device. Take a number of further minutes to make them look model new once more.
Step 3: Dry the Blades
Use a thick, dry material like a towel to dry the highest blade gently. Then use the piece of fabric to wipe the underside blade dry. Be cautious as you dry the sharp blades to make sure you don’t minimize your self.
Step 4: Take away Construct-Up
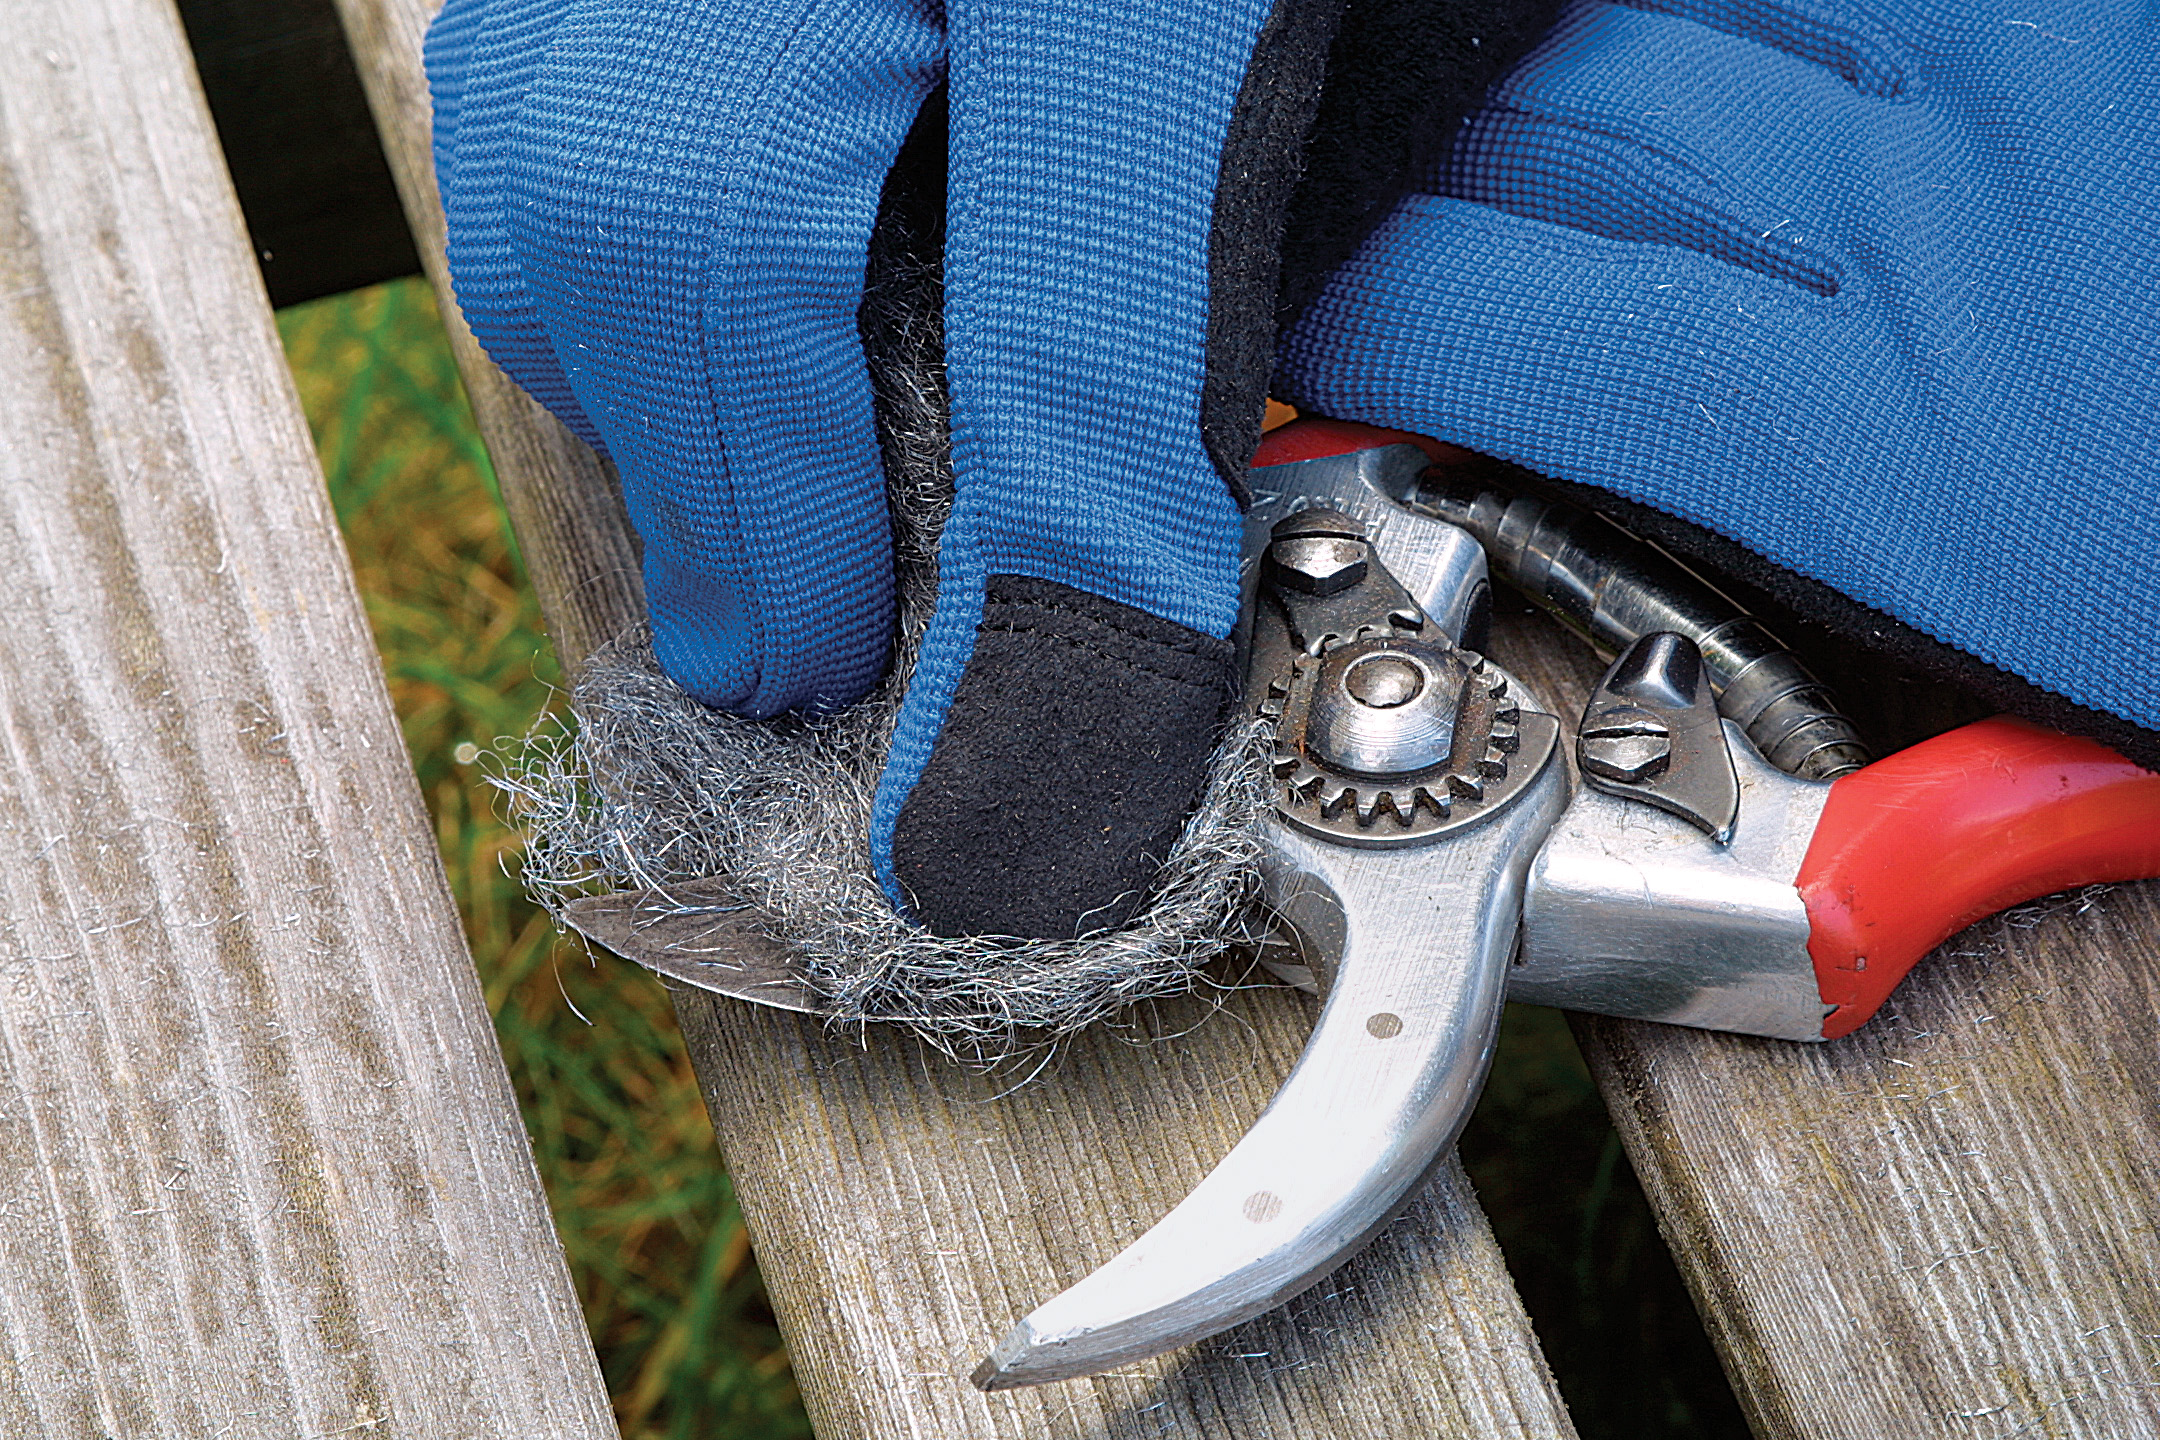
Picture Supply: finegardening.com
Pruning instruments often get caked with gummy residues over time. Use sandpaper or metal wool to scrape away any of those residues from the blades. Guarantee your device is clear of all grime earlier than you progress on to sharpening. A drop of penetrating oil or cleansing solvent might help loosen the caked-on residue.
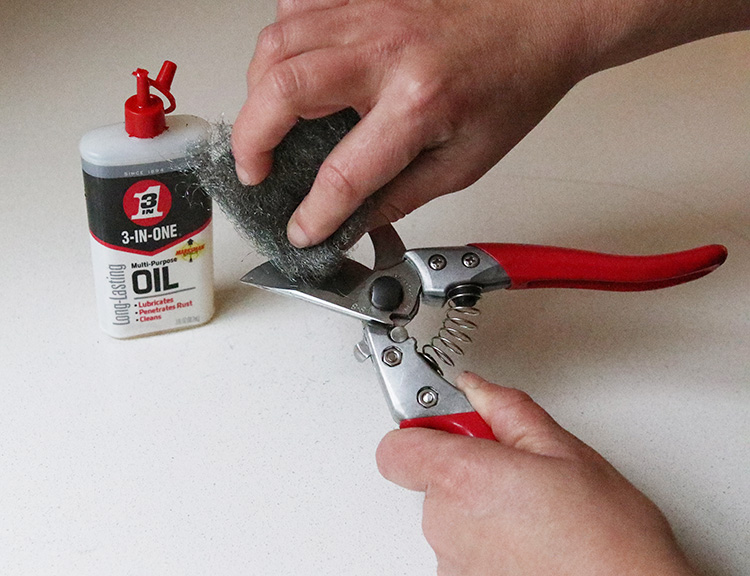
Step 5: Buff off Rust
Upon getting cleaned and dried the shears, look at the blades for remaining rust. It’s common for rust to construct up on pruning shears, and it’s important that you just take away them earlier than you sharpen the blades. Use medium-coarse metal wool to buff off the rust rigorously. Then use finer metal wool to reinstate the shine of the steel.
In case your pruners are severely rusted, apply WD-40 and allow them to sit for 10 minutes. Wipe off the oil with a bit of fabric, then use metal wool to take away the remaining rust. After eradicating the rust, rinse the blades once more and dry them with a dry material.
Step 6: Safe the Pruners
Picture Supply: the-salutation.com
In case you have a bench vise, use it to safe the pruners. This may make sharpening the pruning shears simpler and safer. If the shears are nonetheless joined, open them huge and make sure the blade’s beveled edge is going through you, then safe it within the bench vise. However in the event you disassembled them, safe one half at a time on the bench vice.
Nevertheless, in the event you don’t have a bench vise or clamp, you’ll be able to brace your device on a countertop, your lap, or every other sturdy floor, however watch out to not minimize your self.
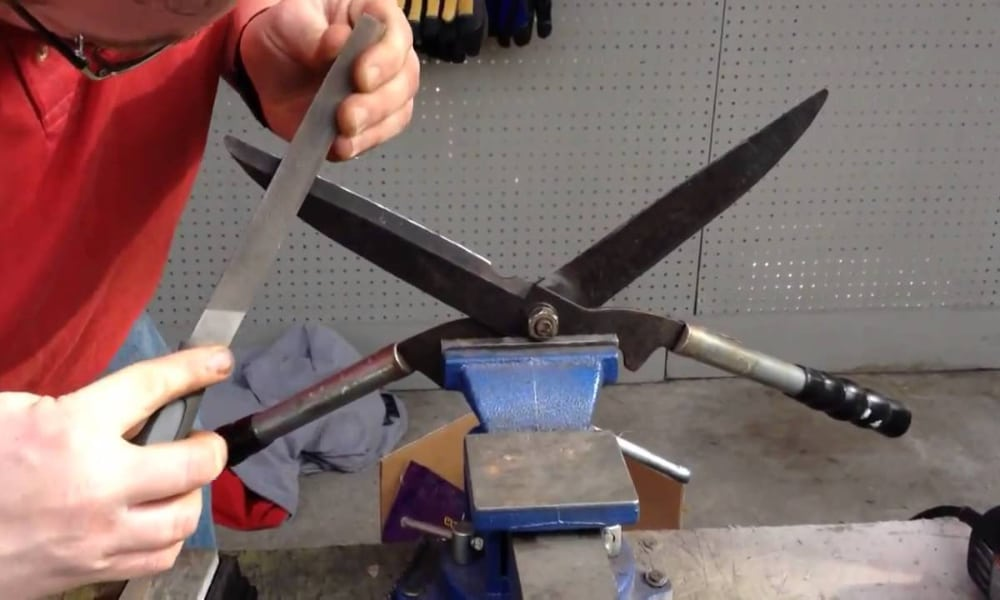
Step 7: Place the Sharpening Instrument
Use a medium or coarse diamond file or any sharpening device to sharpen the pruning shears. Place the sharpening device in opposition to the slicing blade. The sharpening must be in opposition to the blade on the identical angle because the bevel. About 20 to 25 levels angle. You want to keep this angle as you sharpen the blades.
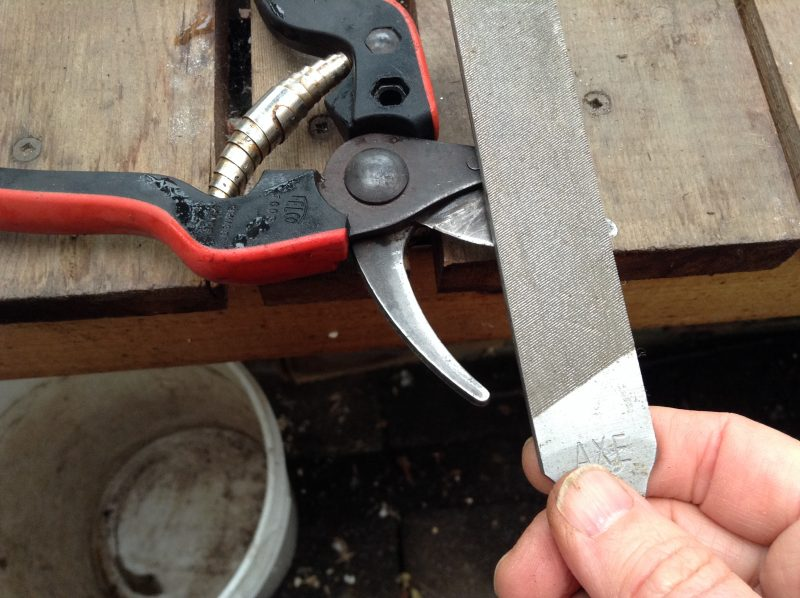
Step 8: Sharpen the Blade
To begin, establish the beveled fringe of the slicing blade. As an illustration, Anvil pruners function a single blade that comes down on a flat plate and is beveled on each side. Due to this fact, you’ll must sharpen each side of the blade. It’s also possible to use this technique to sharpen mower blades by hand.
Picture Supply: tranquilurbanhomestead.com
However, by-pass pruners have just one beveled blade that cuts by sliding over the opposite jaw, the identical approach scissors minimize. Due to this fact it gained’t be essential to sharpen the decrease blade except it has gouges that must be smoothed out.
Scrape the sharpening stone or diamond file alongside the blade’s innovative from the bottom to the tip utilizing one clean stroke. Apply reasonable stress as you file, and make sure you solely file in a single course away out of your physique. Additionally, make sure you hold the sharpening device on the identical angle throughout the complete sharpening.
Repeat the identical a few occasions till you discover the sting will get shiny. Don’t over-sharpen the device as a result of pruning shears don’t should be razor-sharp to carry out successfully. Additionally, word that the variety of strokes it is going to take to revive a pointy edge will depend upon how boring your blades are.
Step 9: Take away Burrs on the Blade’s Bottom
When you’re executed sharpening the blades of the pruner, it’s essential to take away any burrs that shaped on the bottom of the blade. Flip the shears over and run a file over the bottom to take away the burrs.
Step 10: Reassemble the Pruner
To reassemble your pruners, slide the 2 blades again collectively, place the spring, and substitute the bolt or nut. Take a look at the pruners to make sure it isn’t over-tightened and that the blades transfer accurately. If it’s accurately adjusted, the jaws ought to scissor previous one another effortlessly, with no hole between the blades.
Step 11: Take a look at for Sharpness
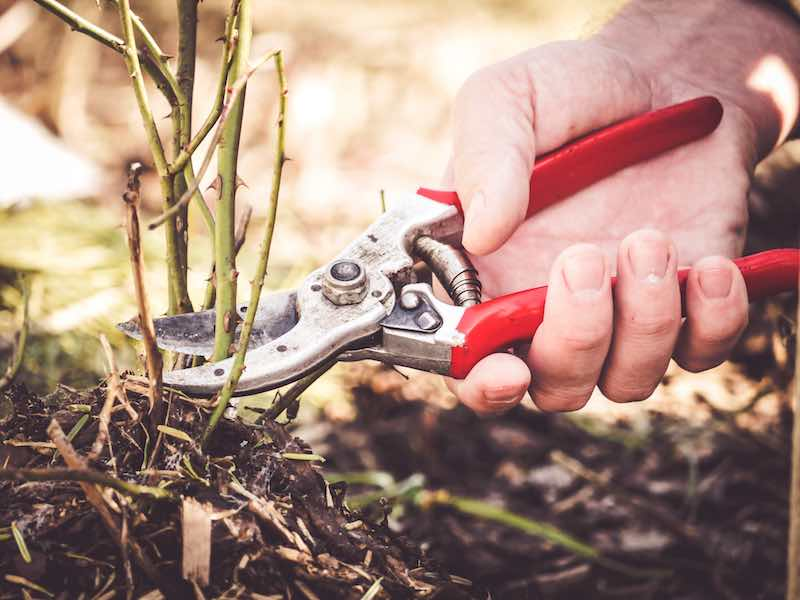
Minimize a bit of paper or some leaves and branches to check the sharpness of the blade. The pruning shears are adequately sharp in the event you get a clear and straightforward minimize.
Step 12: Lubricate the Instrument
When you’ve sharpened your pruning shears, it’s essential to lubricate them to stop future rusting and guarantee your device stays dependable for a very long time. For this step, apply a skinny coat of lubricating oil over the blades. Dip a rag within the lubricating oil and gently wipe it over the blades. Be watchful of the sharpened edges. Additionally, spray the shifting components with the lubricating oil.
Picture Supply: theimpatientgardener.com
You possibly can select from linseed oil, mineral oil, WD-40, or any multipurpose oil you’ve gotten at your disposal. Use a clear piece of fabric to wipe off the surplus oil. Then retailer your device in a clear and dry place till the following time of use.
Security Suggestions When Sharpening Backyard Shears
Security is a major concern when studying and making ready to sharpen pruning shears. Listed here are a number of security issues to remember
Picture Supply: minnetonkaorchards.com
1. Make sure you correctly safe your shears earlier than sharpening them. You should use a clamp to safe or brace them on any dry, sturdy floor.
2. Put on protecting glovesthat you caneasily work in. It is very important shield your arms from the pruner blades whereas cleansing and sharpening them. Placed on a pair of professional quality gardening gloves, akin to thick leather-based gloves, if doable.
3. You want to guarantee your eyes are protected whereas sharpening your pruners. The easiest way to guard your eyes is to put on a pair of security goggles. Protecting eyewear prevents items of steel or rust from reaching your eyes when cleansing and sharpening the pruning shears.
4. Cleansing and sharpening pruning shears might be harmful. Should you unintentionally minimize your self within the course of, it’s essential to search medical remedy instantly.
Steadily Requested Questions
1. How usually ought to I clear, sharpen, and lubricate pruning shears?
All gardening instruments, together with pruning shears, must be cleaned and sharpened not less than annually, at first or finish of the gardening season. Nevertheless, pruning shears that do extra-hard work will in all probability want upkeep extra usually. This makes the job simpler, and also you’ll understand a giant distinction when utilizing your sharpened device.
2. How can I forestall rust and sap build-up on my pruning shears?
Rust and sap build-up might make sharpening pruning shears tough. Due to this fact, you need to forestall them by;
-
- Wipe off your pruning shears with a material moistened with lubricating oil earlier than storing them.
-
- When not in use, retailer your pruning shears in a dry place, akin to a storage or a gardening shed.
-
- Hold your pruners out of the grime, and in the event that they get involved with it, clear them totally.
Backside Line
In the case of pruning, nothing beats having well-maintained pruners with good sharp blades. High quality pruning shears ought to final for ages, and also you shouldn’t throw them away due to being blunt. Due to this fact, it’s value taking your time to wash and sharpen your pruning instruments. This may restore them and produce them again to just about new circumstances. Additionally, having sharp pruning shears will reward you with simpler cuts, and the cuts will heal sooner and higher, stopping ailments and bugs.
Featured Picture Supply: thespruce.com
[ad_2]
Source link